 |
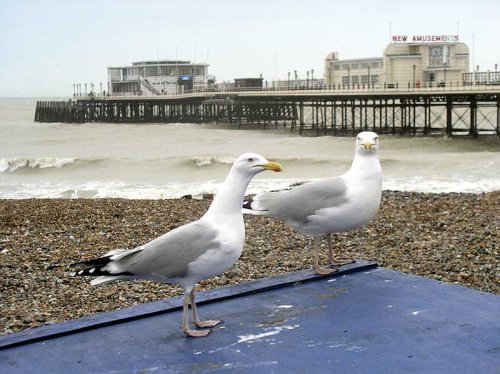
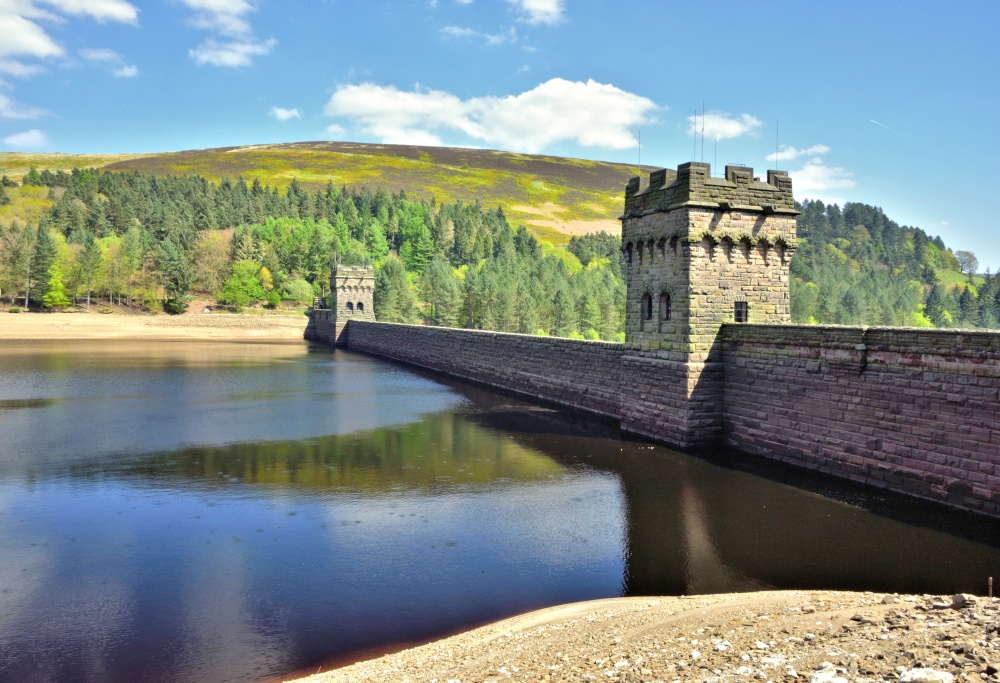
Upper Derwent's Famous Dam Wall & Towers The Upper Derwent dam was the one used by the Dambusters to practise the difficult technique of dropping the Bouncing Bombs, as it looked similar to their intended target in Germany's Ruhr Valley. This picture appears in the following picture tours: |
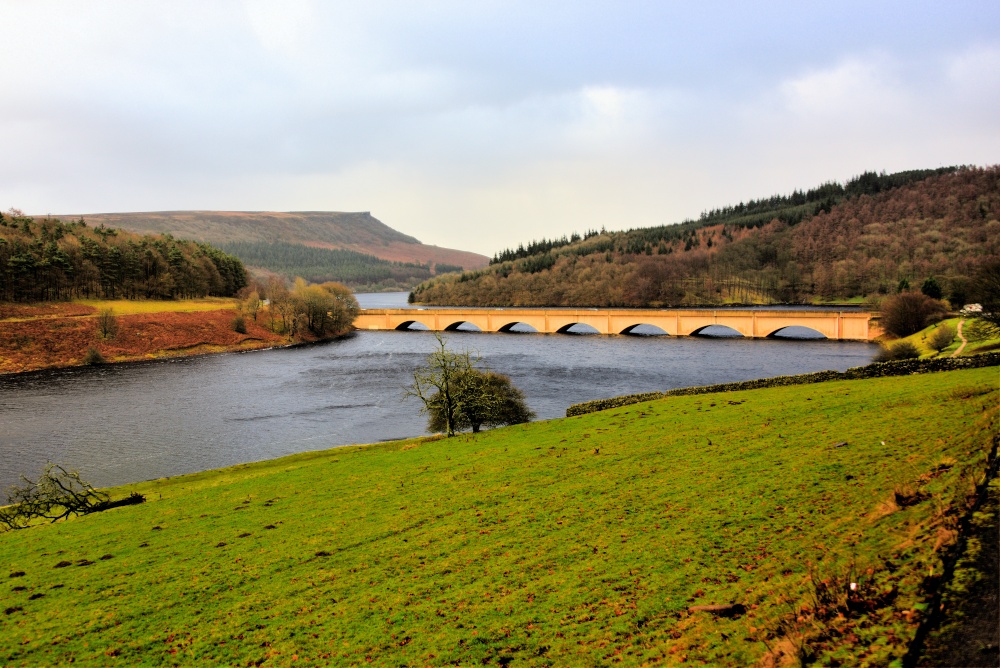 |
The Snake Road Bridge Between Lower Derwent and Ladybower Reservoirs The bridge carrying the Snake Road across the point where the Lower Derwent and Ladybower reservoirs meet, with Bamford Edge in the distance. This picture appears in the following picture tours: |
 |
Looking Upstream from the Upper Derwent Dam Viewpoint The view north from the Upper Derwent dam wall. This picture appears in the following picture tour: |
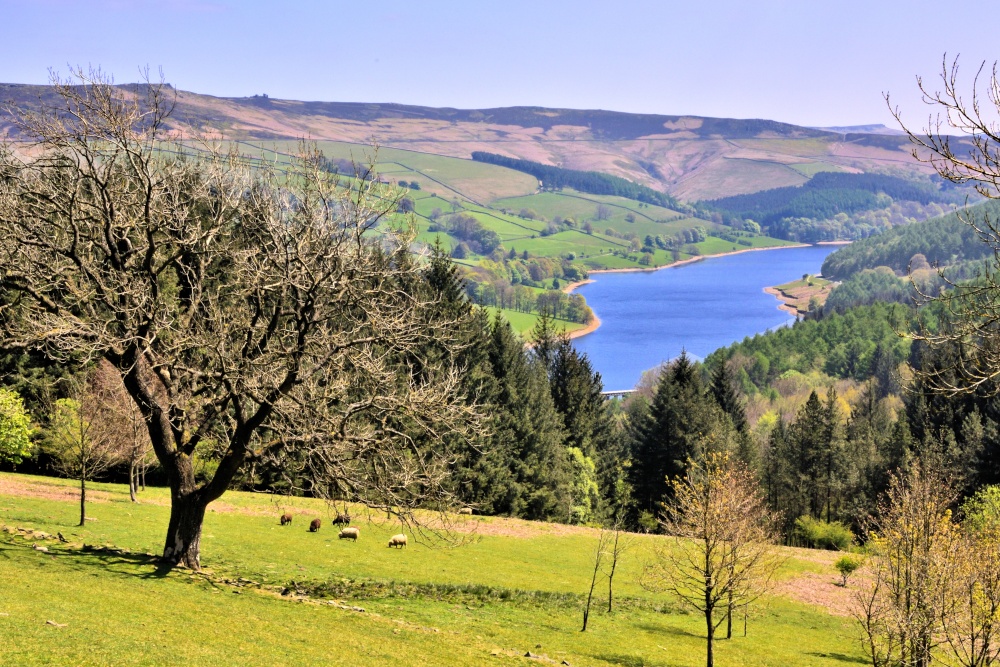 |
The View From Lockerbrook to Lower Derwent Reservoir This view is from Lockerbrook Farm on the hillside between the Upper and Lower Derwent reservoirs and looks south over the lower res. This picture appears in the following picture tours: |
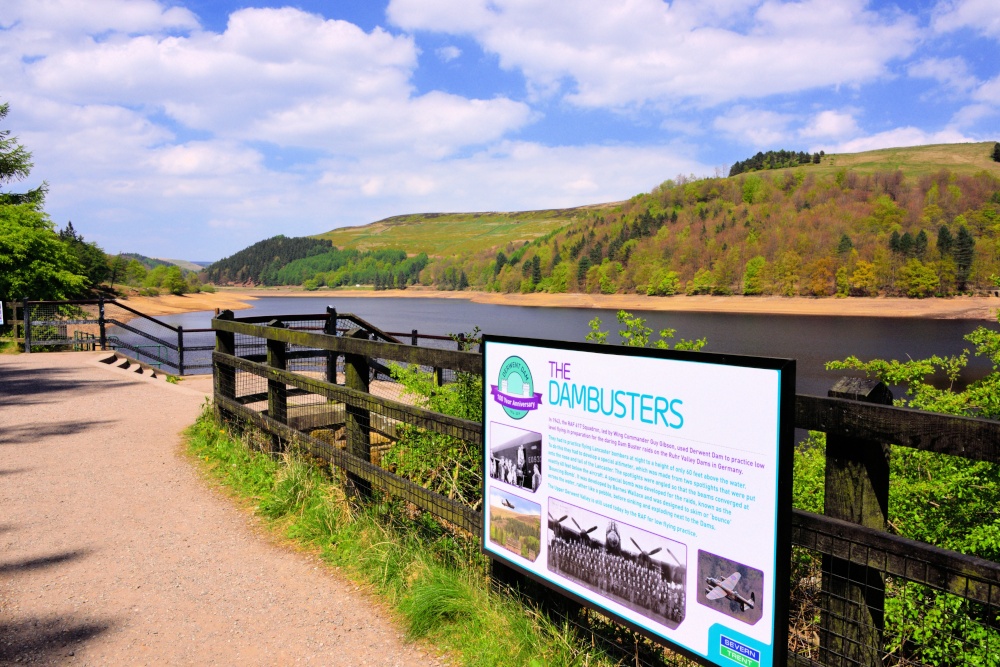 |
The Upper Derwent Reservoir Viewpoint & its Dambusters History The Halifax bombers of 617 Squadron (The Dambusters) practised dropping the newly developed Bouncing Bombs here because the surrounding terrain was similar to that of the Ruhr Valley, where their eventual target was. The technique for these bombs was incredibly difficult, first of all due to the steep approach over the surrounding hills, but then within a very short distance, the bombers had to position themselves at exactly 60 feet above the surface, at exactly the correct speed and had somehow to know when they were at the precise distance from the dam wall, to release the bombs. All this in pitch darkness and with no GPS or Altimeters. This picture appears in the following picture tours: |
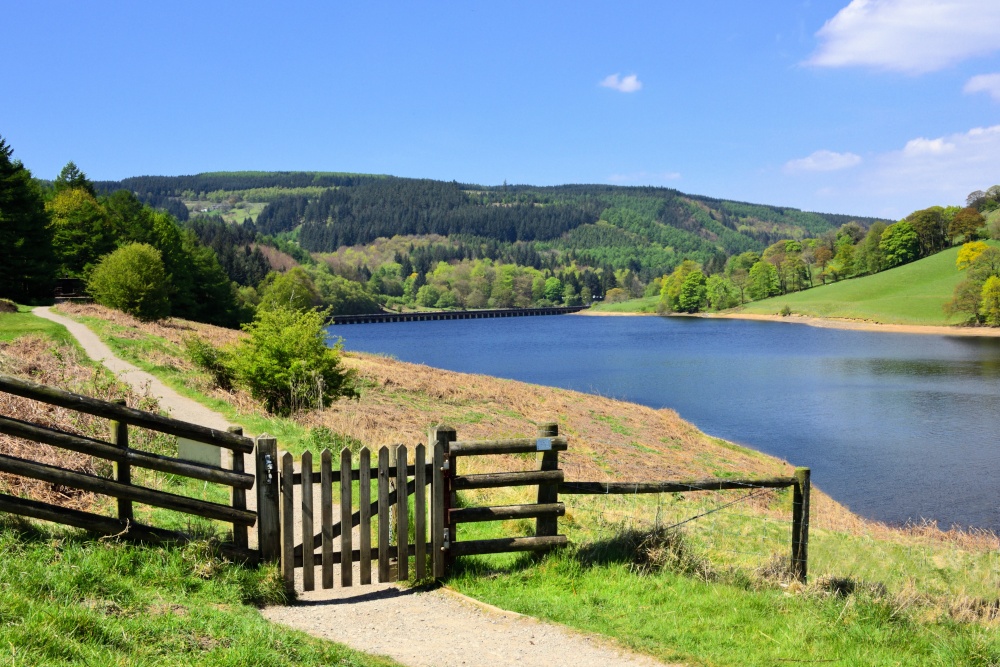 |
View Up Lower Derwent Reservoir This view up the Lower Derwent reservoir shows the footpath along its west side. This picture appears in the following picture tour: |
Follow PicturesOfEngland.com on social media and help share the beauty of England....